
Install guideDiode Dynamics Rock Light Mount - Universal Fitment
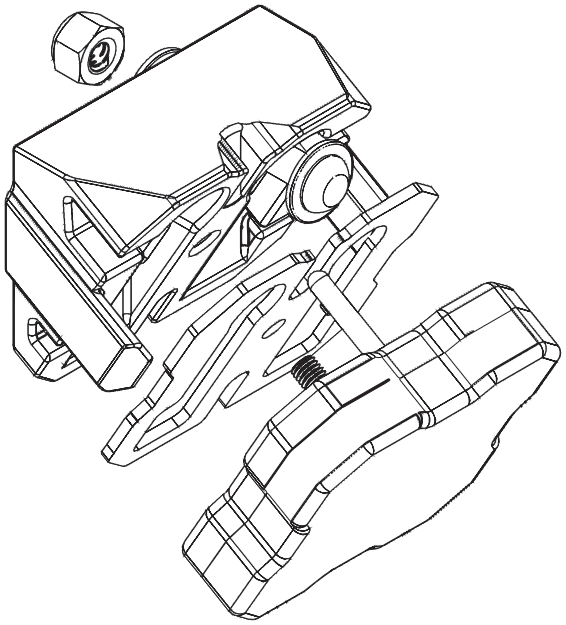
Installation
- Install the heat plate and light with the included M5 screw. The heat plate and cooling channels keep the light from heat soaking, so don't skip it.
- Flip the light either way for top or bottom wire exit.
- Mount it with the 1/4" bolts, washers and locknuts. Always use the washers.
- Don't overtighten: 2.2 ft-lbs (3 Nm) max on the light screw and 3.7 ft-lbs (5 Nm) max on the 1/4" bolts.
- Heads up: these lights hit 212°F in our testing at full power. Don't touch the metal after a long run, and use low power mode for extended use.
In the box
In the box:
- 1 mount
- 1 laser-cut aluminum heat plate
- 1 × M5 × 20 screw
- 2 × 1/4" × 1" button head bolts
- 4 × 1/4" flat washers
- 2 × 1/4" locknuts
Bolts, washers and locknuts are 304 stainless. Light not included.
Reorder, leave a review, or see full specs: advtr3d.com/products/diode-dynamics-rock-light-prinsu-universal
Questions? sales@lentdesignworks.com